I LOVE BAGELS. I mean, I REALLY love bagels. In the fall I moved from New York to Chicago, and before I packed a single box I swore that I would not move if I couldn't learn how to make good everything bagels. After all, once you're used to having a New York bagel every morning there's no turning back. Fortunately, one of the cookbooks on my shelf has a great recipe for bagels and was pretty easy to follow, though I have taken the liberty of rewording the whole thing for my own entertainment, and changing a thing or two (their recipe has too much salt).
When it comes to making things like bagels, or cannoli, or tarts or pies or any other multi-step recipe, I think the most important part is getting past being totally intimidated by the thought of how complicated the recipes sound. Don't be scared! Seriously, the hardest parts of making bagels are 1) kneading the dough in the first place, and 2) making the loops - the dough doesn't want to stick to itself. The rest doesn't actually take much time or effort. I like to make my bagel dough around 5 or 6 pm, and bake the bagels around 8 or 9 the next morning. Making the dough and forming the bagels takes about half an hour, maybe less. Boiling and baking them only takes about 30 minutes, too, so altogether it's not actually that time consuming. Especially since they last for at least two mornings, depending on how many bagels are late night snacks. How happy I was when I figured that out! I make bagels about twice a week now, much to my boyfriend's delight. He's so spoiled.
This recipe is adapted from
The Best Recipe cookbook from America's Test Kitchen.
Everything Bagels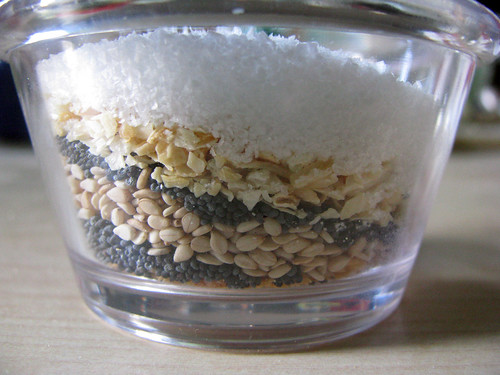 4 cups all-purpose flour
2 tsp salt
1 tbsp malt barley syrup
1 1/2 tsp instant yeast
1 1/4 cups warm water
2 tbsp sesame seeds
2 tbsp poppy seeds
1 tbsp dried onion flakes
1 tbsp dried garlic flakes
1 tsp kosher salt
tons of cream cheese
In your largest mixing bowl, combine the flour, barley malt, and salt with a pastry cutter. In a small bowl, add the yeast to the water, stir well, then pour into the flour mixture. Stir with the pastry cutter until the dough becomes too dense to stir, then start kneading it into dough, rotating the bowl as you go. It will take several minutes for the dough to become smooth, and once it is smooth keep kneading for at least 4 more minutes. It's not going to be easy. Bagel dough is very dense and hard, but if it's dry and crumbly add a little more water by wetting your hands and kneading.
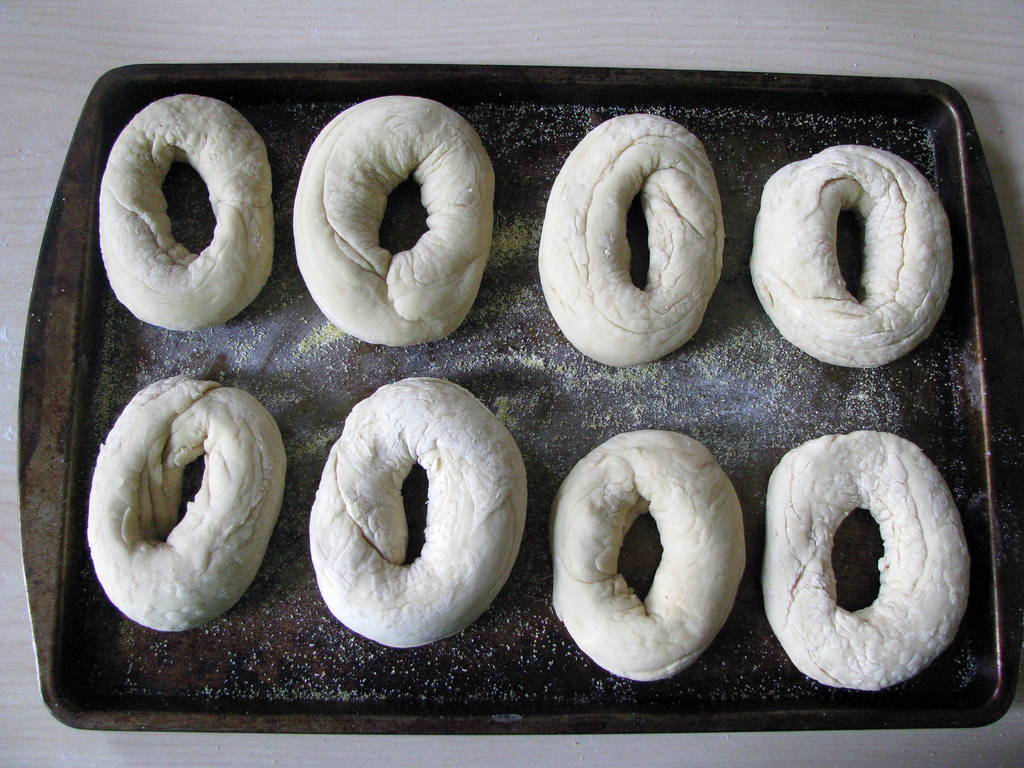
Separate your dough into 8 pieces. Roll each piece into a ball then roll each ball out to a 'snake' about 11" long. Shape the dough into a circle and pinch it together with 1-1/2" dough-overlap. Again, this will not be easy. You can put your hand in the middle of the bagel and knead the seam under your palm.
Set the rolled bagels on a cookie sheet, cover with plastic wrap, and refrigerate for several hours or overnight. They will rise slowly in the fridge, which is what gives them that wonderful texture inside.
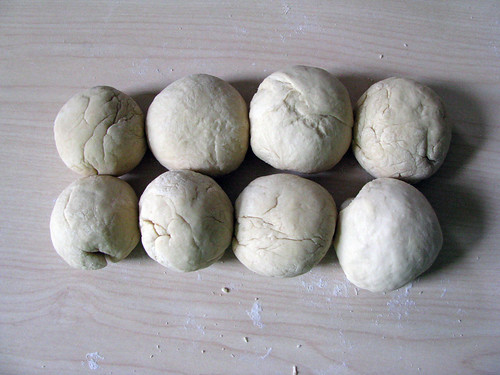
 This is important!
 See these dough balls and bagels?
They're my first ones, ever. These are bad examples. The bagels I make these days look much better but my new kitchen doesn't have the same nice light, so I can't show you until the weather improves.
Your bagels should be smoother than these. I didn't knead this batch enough, and the dough was too dry in the first place. Your dough shouldn't look this powdery, ok?
.....many hours of sleep or movies or work later......
Now for the fun part! No, really!
Preheat the oven to 425º.
Boil a quart or two of water in a wide pot at least 3" deep. It should have room for 4 bagels in it at a time. Take the bagels out of the fridge and set them on the counter while you wait for the water to come to a full rolling boil. Now mix your seeds and salt and dried flakes in a deep plate or a bowl. I like to use a pie pan, personally. Now might also be a good time to get out the wire cooling rack to rest the bagels on after boiling.

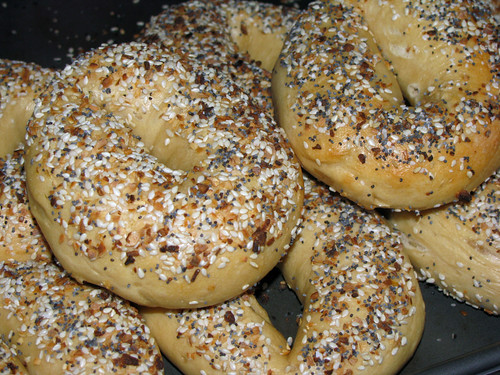
Carefully place 4 bagels in the water. Boil them for about 30 seconds, dunking them with a slotted spoon from time to time. Remove them from the water to the cooling rack, let drip for a minute and dip them face down in the seeds, being sure to stir the seeds up after each bagel because the salt and poppyseeds tend to settle to the bottom. Place the bagels seedy side up on the cookie sheet and bake for about 14 minutes, or until you start to see a hint of browning on top.
I don't know about you, but I have not yet managed to bake bagels without burning myself, because I HAVE to try to eat one the second they come out of the oven. 425º is pretty hot.
These bagels will keep for up to 3 days. I find they get tougher in a cookie tin, soggy in a ziploc bag and are better stored in a paper bag. If anyone has better luck with some other means of storage, let me know!
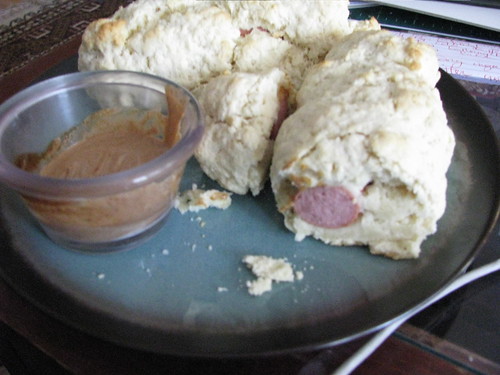
 Breakfast! A biscuit with apricot preserves and an unholy amount of butter.
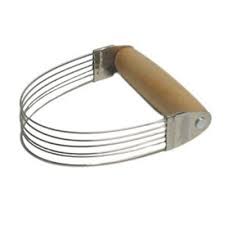


